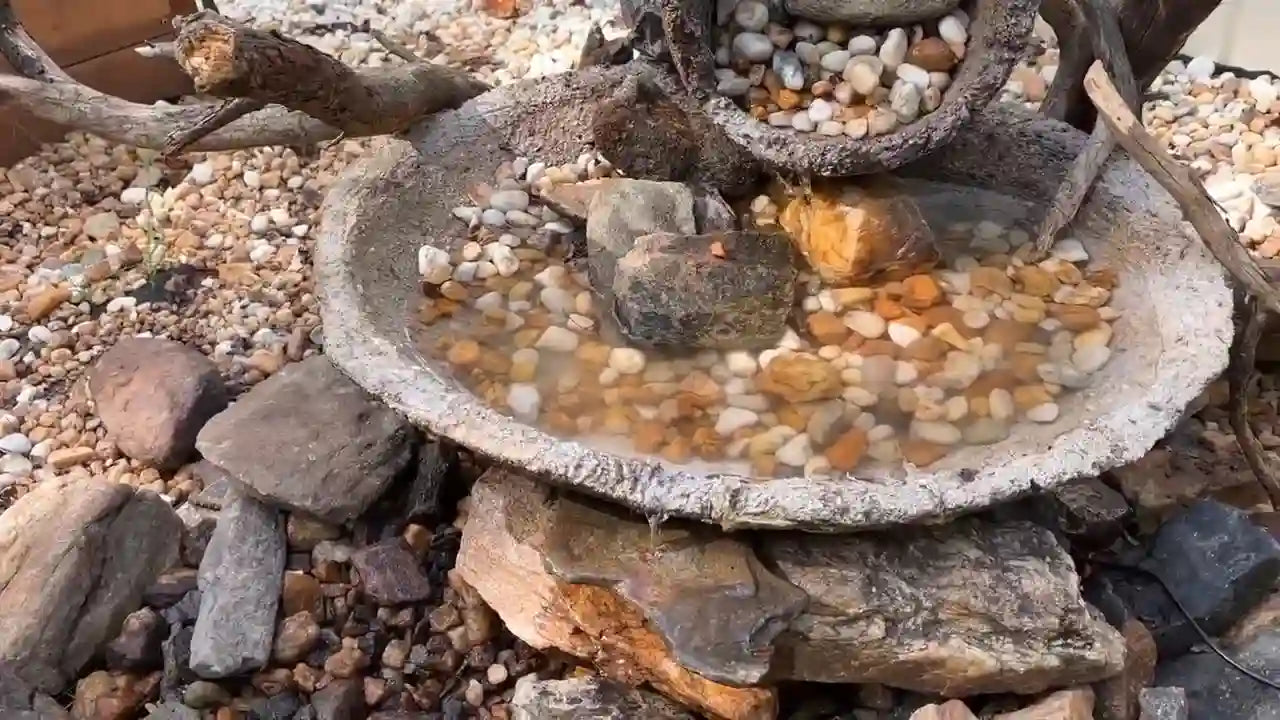

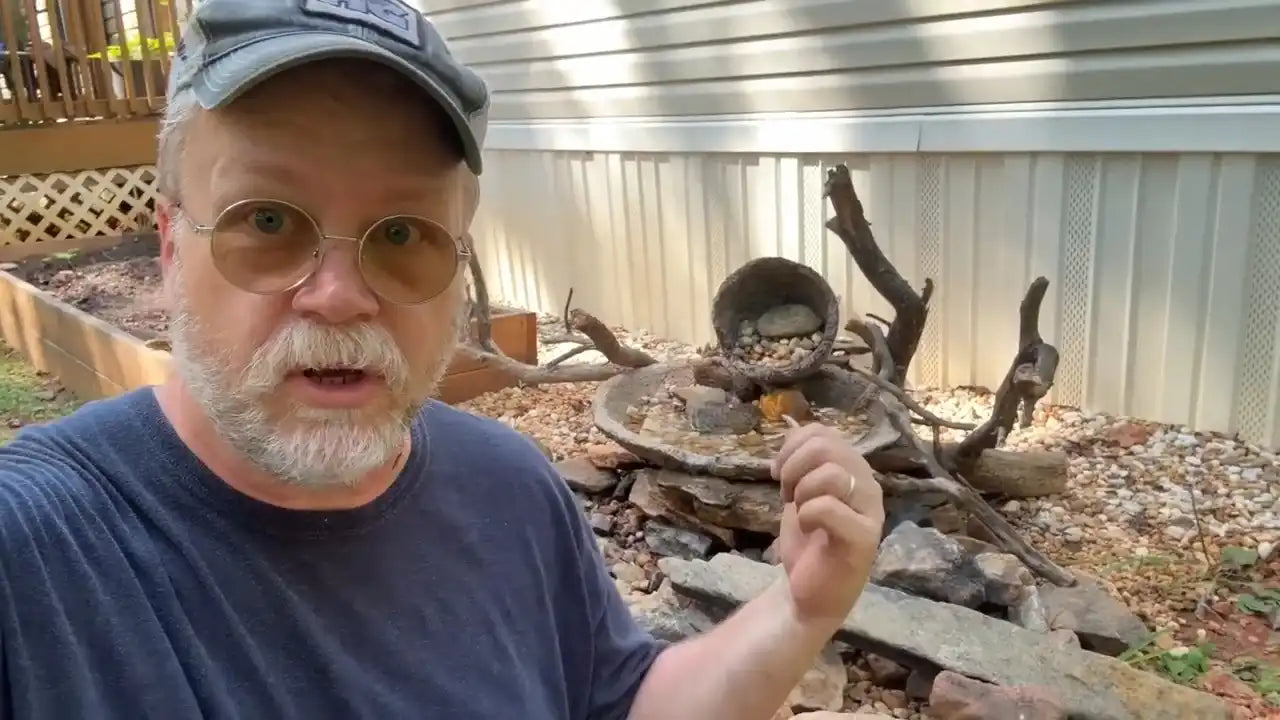
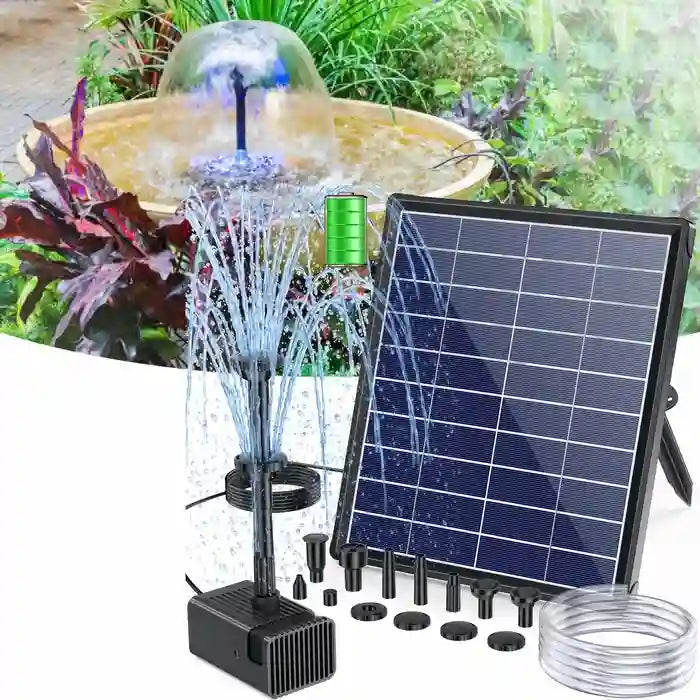
Items Needed



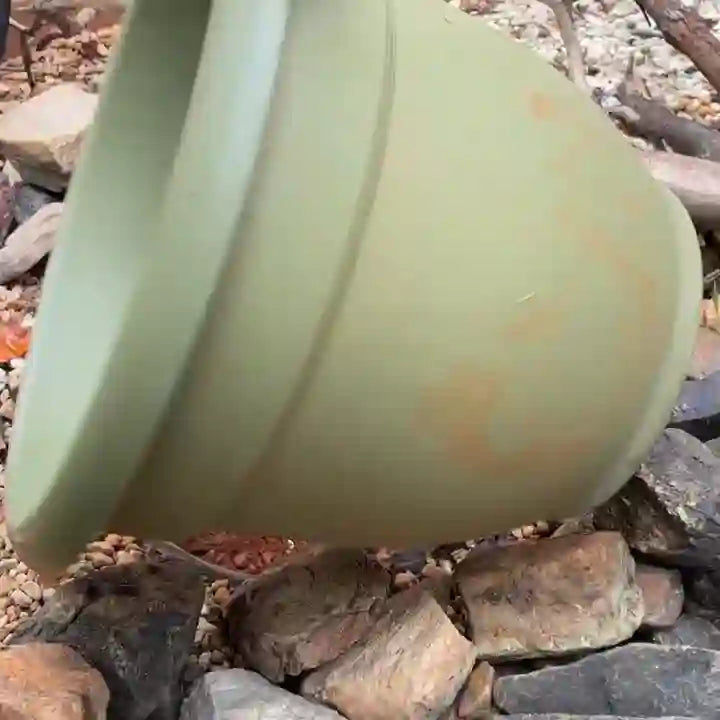
Step 1: Making Hypertufa Basin

1. Mix the ingredients according to the specified ratio until they form a moist, lumpy mass that can be formed into a ball when squeezed in your hand but crumbles easily when released and lightly touched. The mixture should not be too runny.

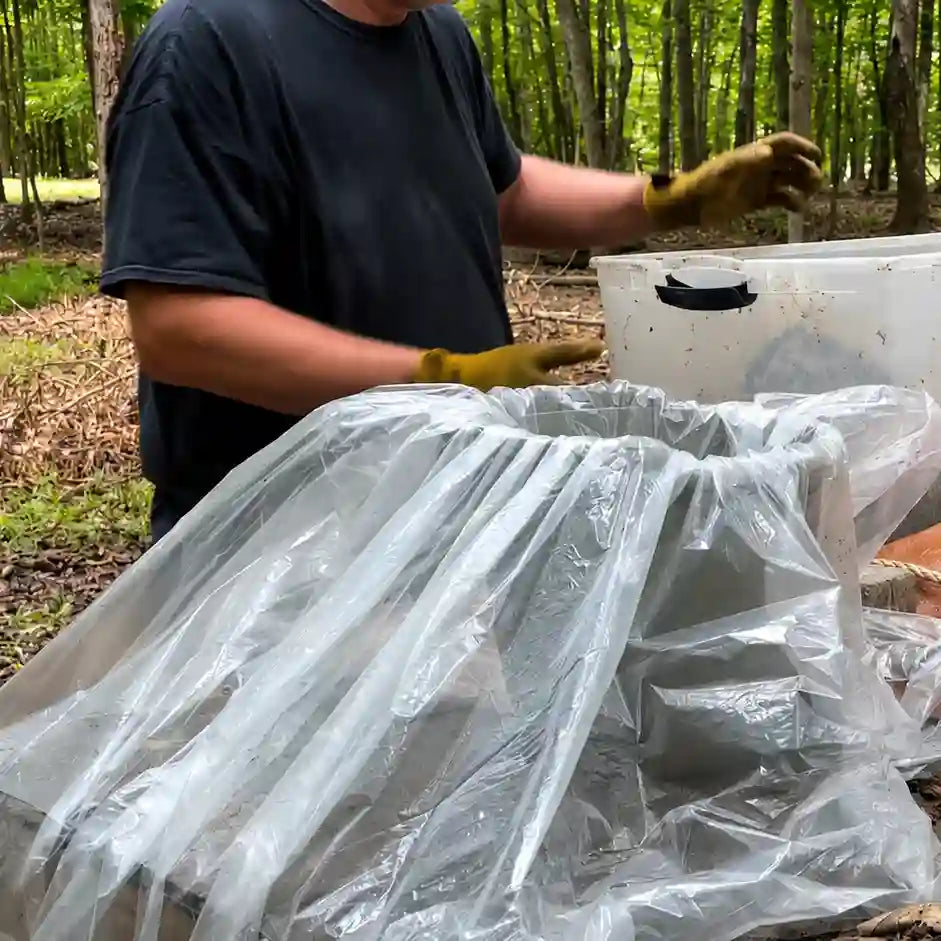
2. Cover the model with material to create a hollow, concave basin. The bottom should be thickened to prevent cracking when filled with water.

3. Line the inner wall of the mold with a layer of plastic film. Evenly press the mixture onto the bottom and side walls of the outer mold.

4. After demolding, the concrete basin needs to be wet-cured for several days to allow the cement to fully harden and the rough edges to be sanded off.
Step 2: Base layout

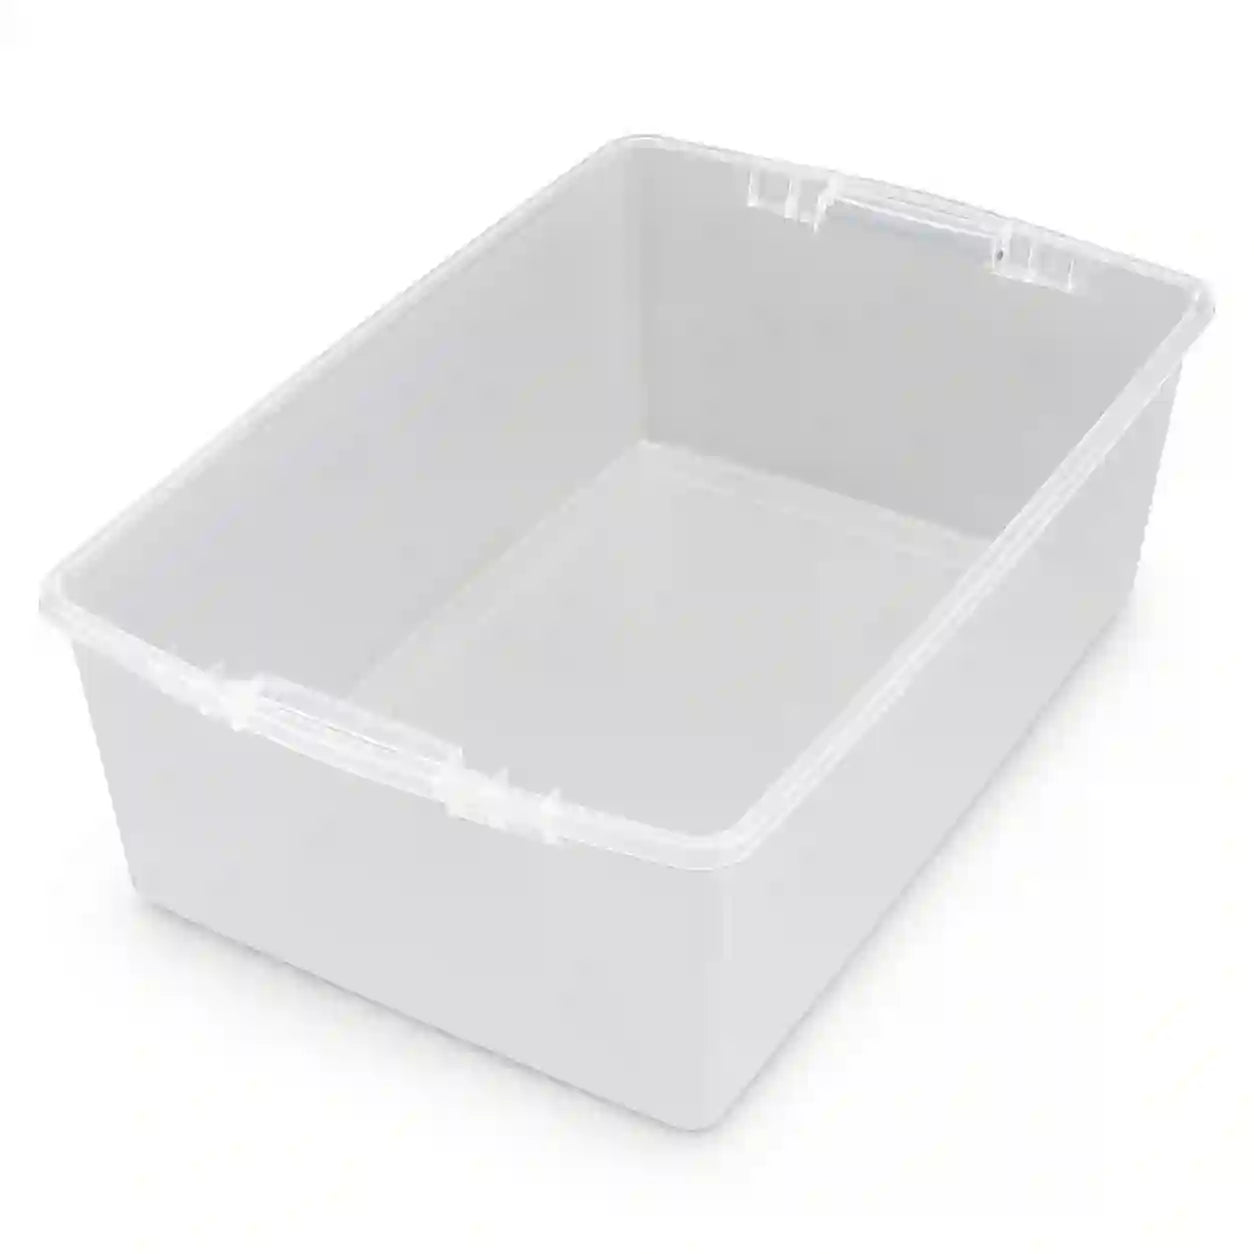
5. Measure the width and depth of the water storage container and dig the pit.

6. Place it in a water storage container and assemble a shelf using steel reinforcement.

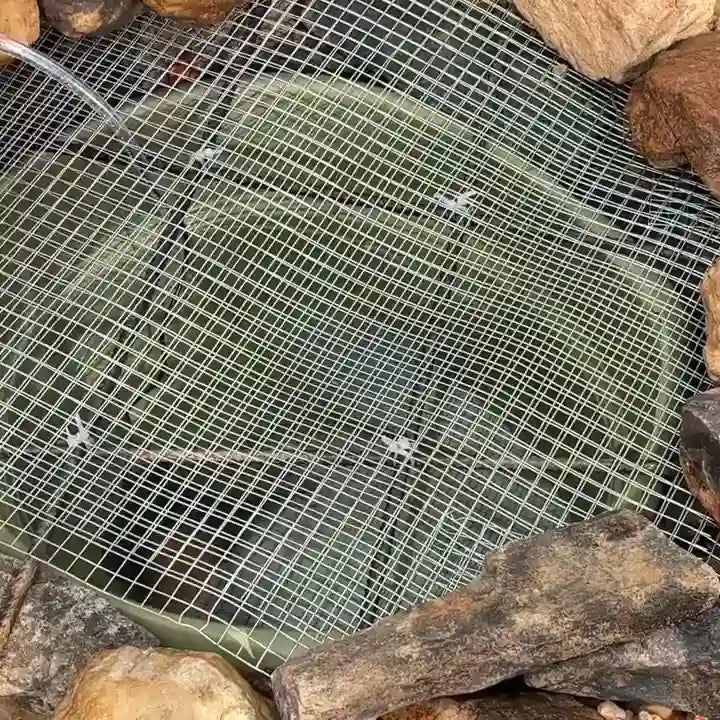
7. Add water, place wire mesh, and secure the edges with stones.

8. Cut a hole in the wire mesh, thread the water pump hose through it, and then completely conceal the wire mesh with stones, pebbles, etc.

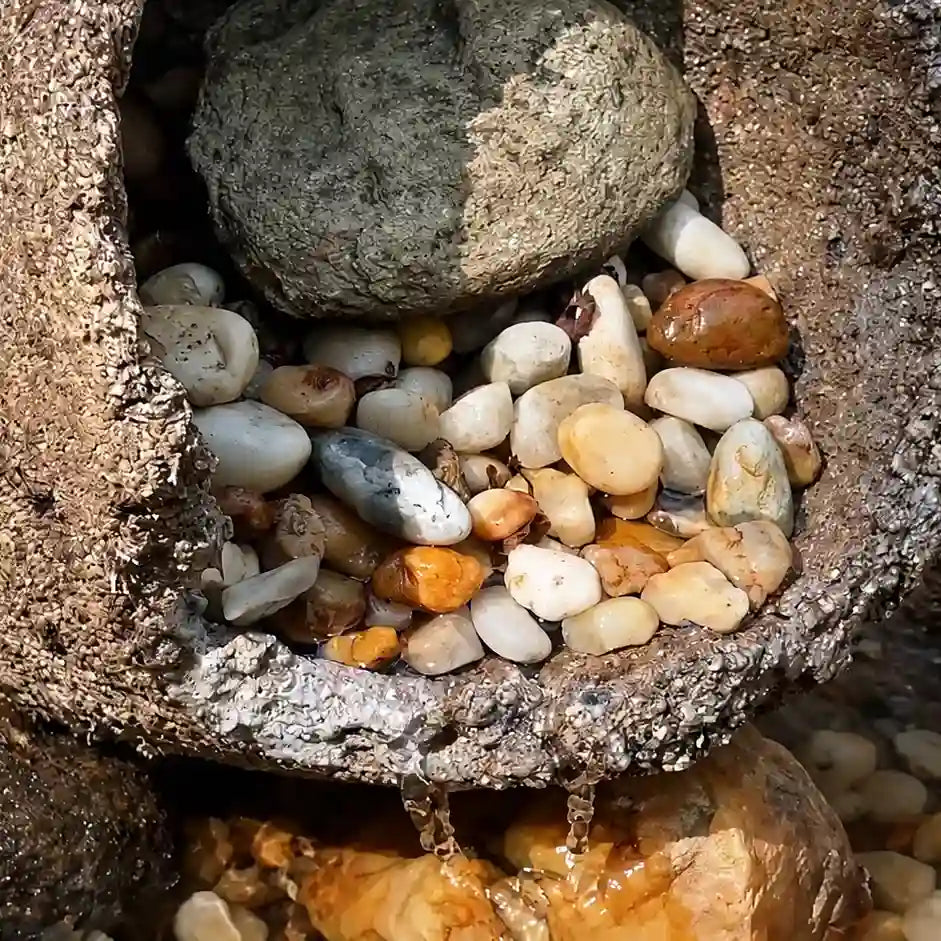
9. Place the terracotta basin, decorate the surrounding area with stones, and secure the back of the terracotta basin.

10. Arrange terracotta pots, add pebbles for decoration, and conceal the flexible hose.
Step 3: Placing solar panels

11. Connect solar panels.

12. Place the solar panels in a location where they are directly exposed to sunlight and without any shade, away from trees.
Enjoy This Solar Water Feature!